Brand your booking page & share it
Pick the hex color that matches your existing brand. Copy the booking link or grab the one-line iframe snippet to drop on your own website.
The booking page lives at book.zedule.app/<your-slug> from the moment you sign up — it just looks generic until you set your brand. Five minutes here and the page looks like it’s part of your business, not part of ours.

Open Settings → Booking Page
From the top nav: Settings → Booking Page. The tab has three sections: Booking Template, Branding, and Share your booking page.
Pick your brand color
Branding has four fields. The most important one is Primary Color.
Zedule’s dashboard ships with four accent templates (indigo, forest, rose, amber) — that’s what you stare at every day. The customer-facing booking page is different: any hex color you want. Match your existing brand exactly. If your storefront sign is #6366f1 indigo, type #6366f1 and the booking page picks it up.

The other three fields:
- Font — Inter (default, neutral), Source Serif 4 (editorial, premium), or system (whatever your customer’s OS prefers)
- Corner Radius — Sharp (4px), Rounded (12px), or Pill (20px). Pick whichever matches the rest of your site
- Logo URL / Cover Image URL — optional; both are URLs to images you host elsewhere
Choose a booking template
Above Branding, the Booking Template section is the flow the customer sees:
- Classic — Service → Staff → Date/Time. Default. Works for almost everyone.
- Provider-First — Pick a provider before picking a service. Use this if customers come in asking for a specific person.
- Date-First — “When are you free? Let’s see what’s available.” Good for high-volume services where people want the soonest slot.
- Simple — Just a calendar. No service picker. Use this if you only have one offering.
- Catalog — Browse and bundle multiple services into one booking. Use this for spas, multi-service appointments.
You can change the template anytime — past bookings aren’t affected.
Save, then share
Click Save Booking Page. Now scroll down to the Share your booking page section.
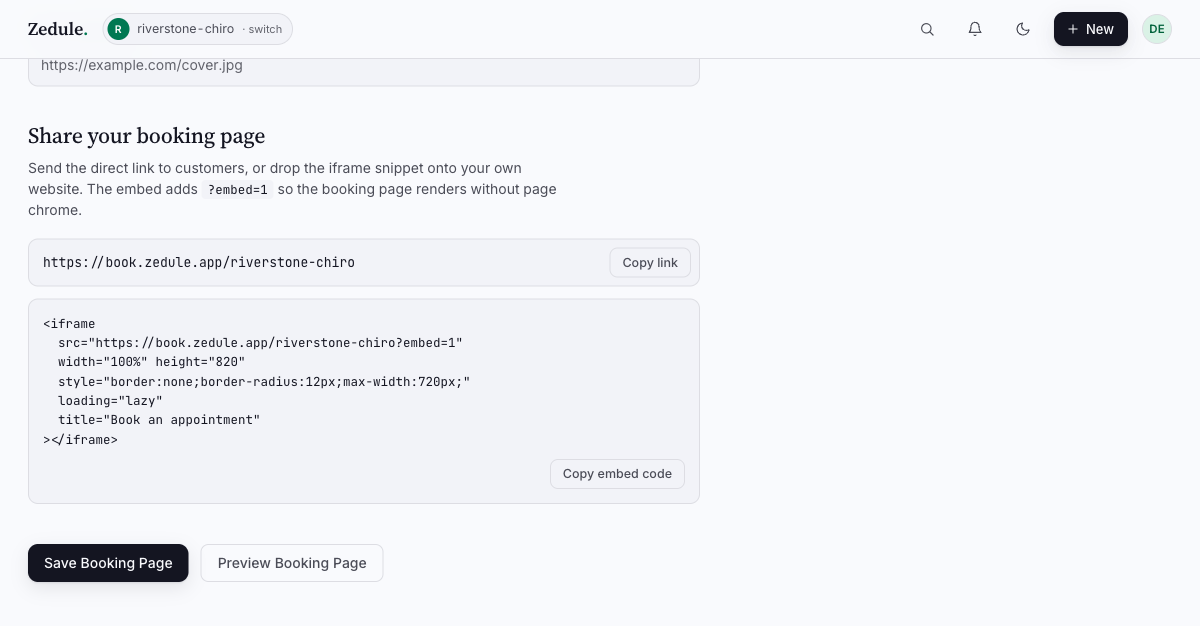
Two ways to share:
Copy link — gives you https://book.zedule.app/<your-slug>. Paste it in your Instagram bio, email signature, Google Business listing, anywhere a link works. Customers who click it land on the booking page.
Copy embed code — gives you a one-line <iframe> you drop on your own website. The iframe loads ?embed=1, which strips the Zedule chrome (top bar and footer) so the booking widget feels native to your site. Set your container width and the iframe handles its own height.
<iframe
  src="https://book.zedule.app/<your-slug>?embed=1"
  width="100%" height="820"
  style="border:none;border-radius:12px;max-width:720px;"
  loading="lazy"
  title="Book an appointment"
></iframe>
The iframe is on the same book.zedule.app origin, so customers who book see Zedule’s domain in their confirmation email — make sure your contact email and brand are set so the email reads as yours.
Verify your booking page
Open book.zedule.app/<your-slug> in a private/incognito window. You should see:
- Your business name in the header
- Your hex color on the primary button
- Your services listed (from Add your first service)
- Available slots from your staff’s working hours
If something looks wrong, the most common issues are: time zone (set on the Profile tab), no staff assigned to the service, or no working hours set on the staff. The booking page won’t show slots a real customer can’t actually book — empty slots usually mean no staff is configured for that combination.
Next
→ Take real bookings. The remaining sections of these docs cover Calendar, Staff, Customers, and Settings & Email in depth — read them as you grow into Zedule, not all at once.